
Okay, first and foremost, I’m really proud of the alliteration in this post title. Secondly, this project is super easy and fall-y. And while my pots didn’t turn out exactly how I envisioned, I have some tips to make sure that you don’t make the same mistakes. Let’s begin!
DIY Pumpkin Plant Pots – what you need:
- plain terra cotta pots (preferrably plant-less to start, but that’s not an absolute requirement)
- painter’s tape
- black acrylic paint
- paintbrush
- black fine-tip marker (optional)


Step 1: Tape the area to be painted
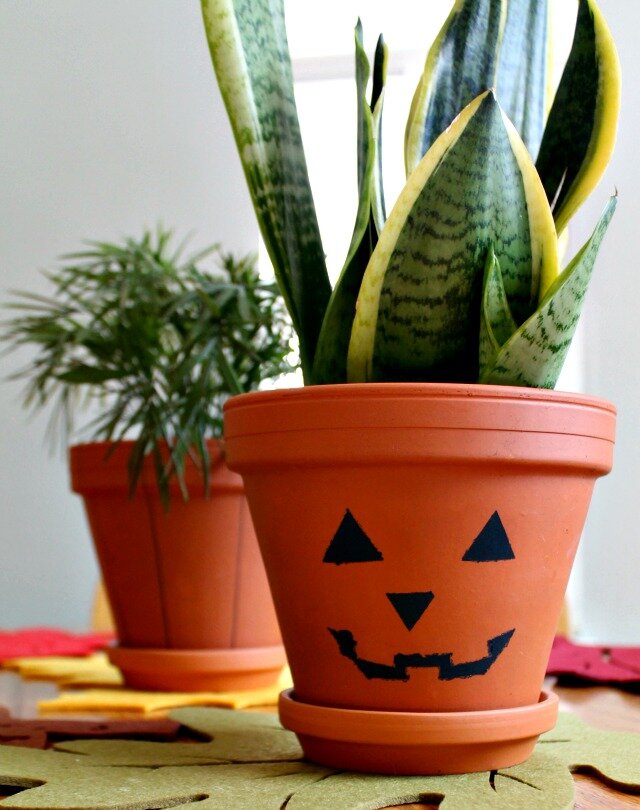
Start with clean, dry pots. And use small pieces of painter’s tape to outline two triangles for eyes, one for a nose, and then a mouth with a few teeth sticking out. I would recommend (though I didn’t do this) that you use a long strip of tape to outline the bottom of both eyes so that they’re even. The mouth is the trickiest part – you have to do some trial and error to get it how you want.
Step 2: Paint and let dry
Once all of the tape is in place, add a layer of black paint to the outlined areas with a paintbrush. Let it dry, and add another coat if necessary. Wait until the paint is fully dry to remove the tape. Then use a fine-tip marker to fix any blemishes or missed spots.
Step 3: Add some other embellishments
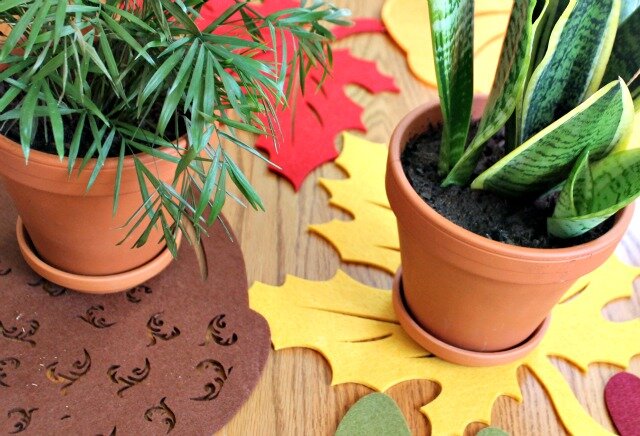
If you have another pot or two you want to decorate, you can try making it just a plain old pumpkin by drawing lines up and down like in the second pumpkin shown above. Mine didn’t turn out exactly like I was hoping, so I think adding just a bit of rounding to the lines might get the whole pumpkin thing across a bit better. But I think it still works.
Step 4: Display!
Then, if you haven’t already, add your soil and plants. Then just put your new festive planters out for all to see. They’re like jack-o-lanterns that won’t just rot on your porch! Hooray!
